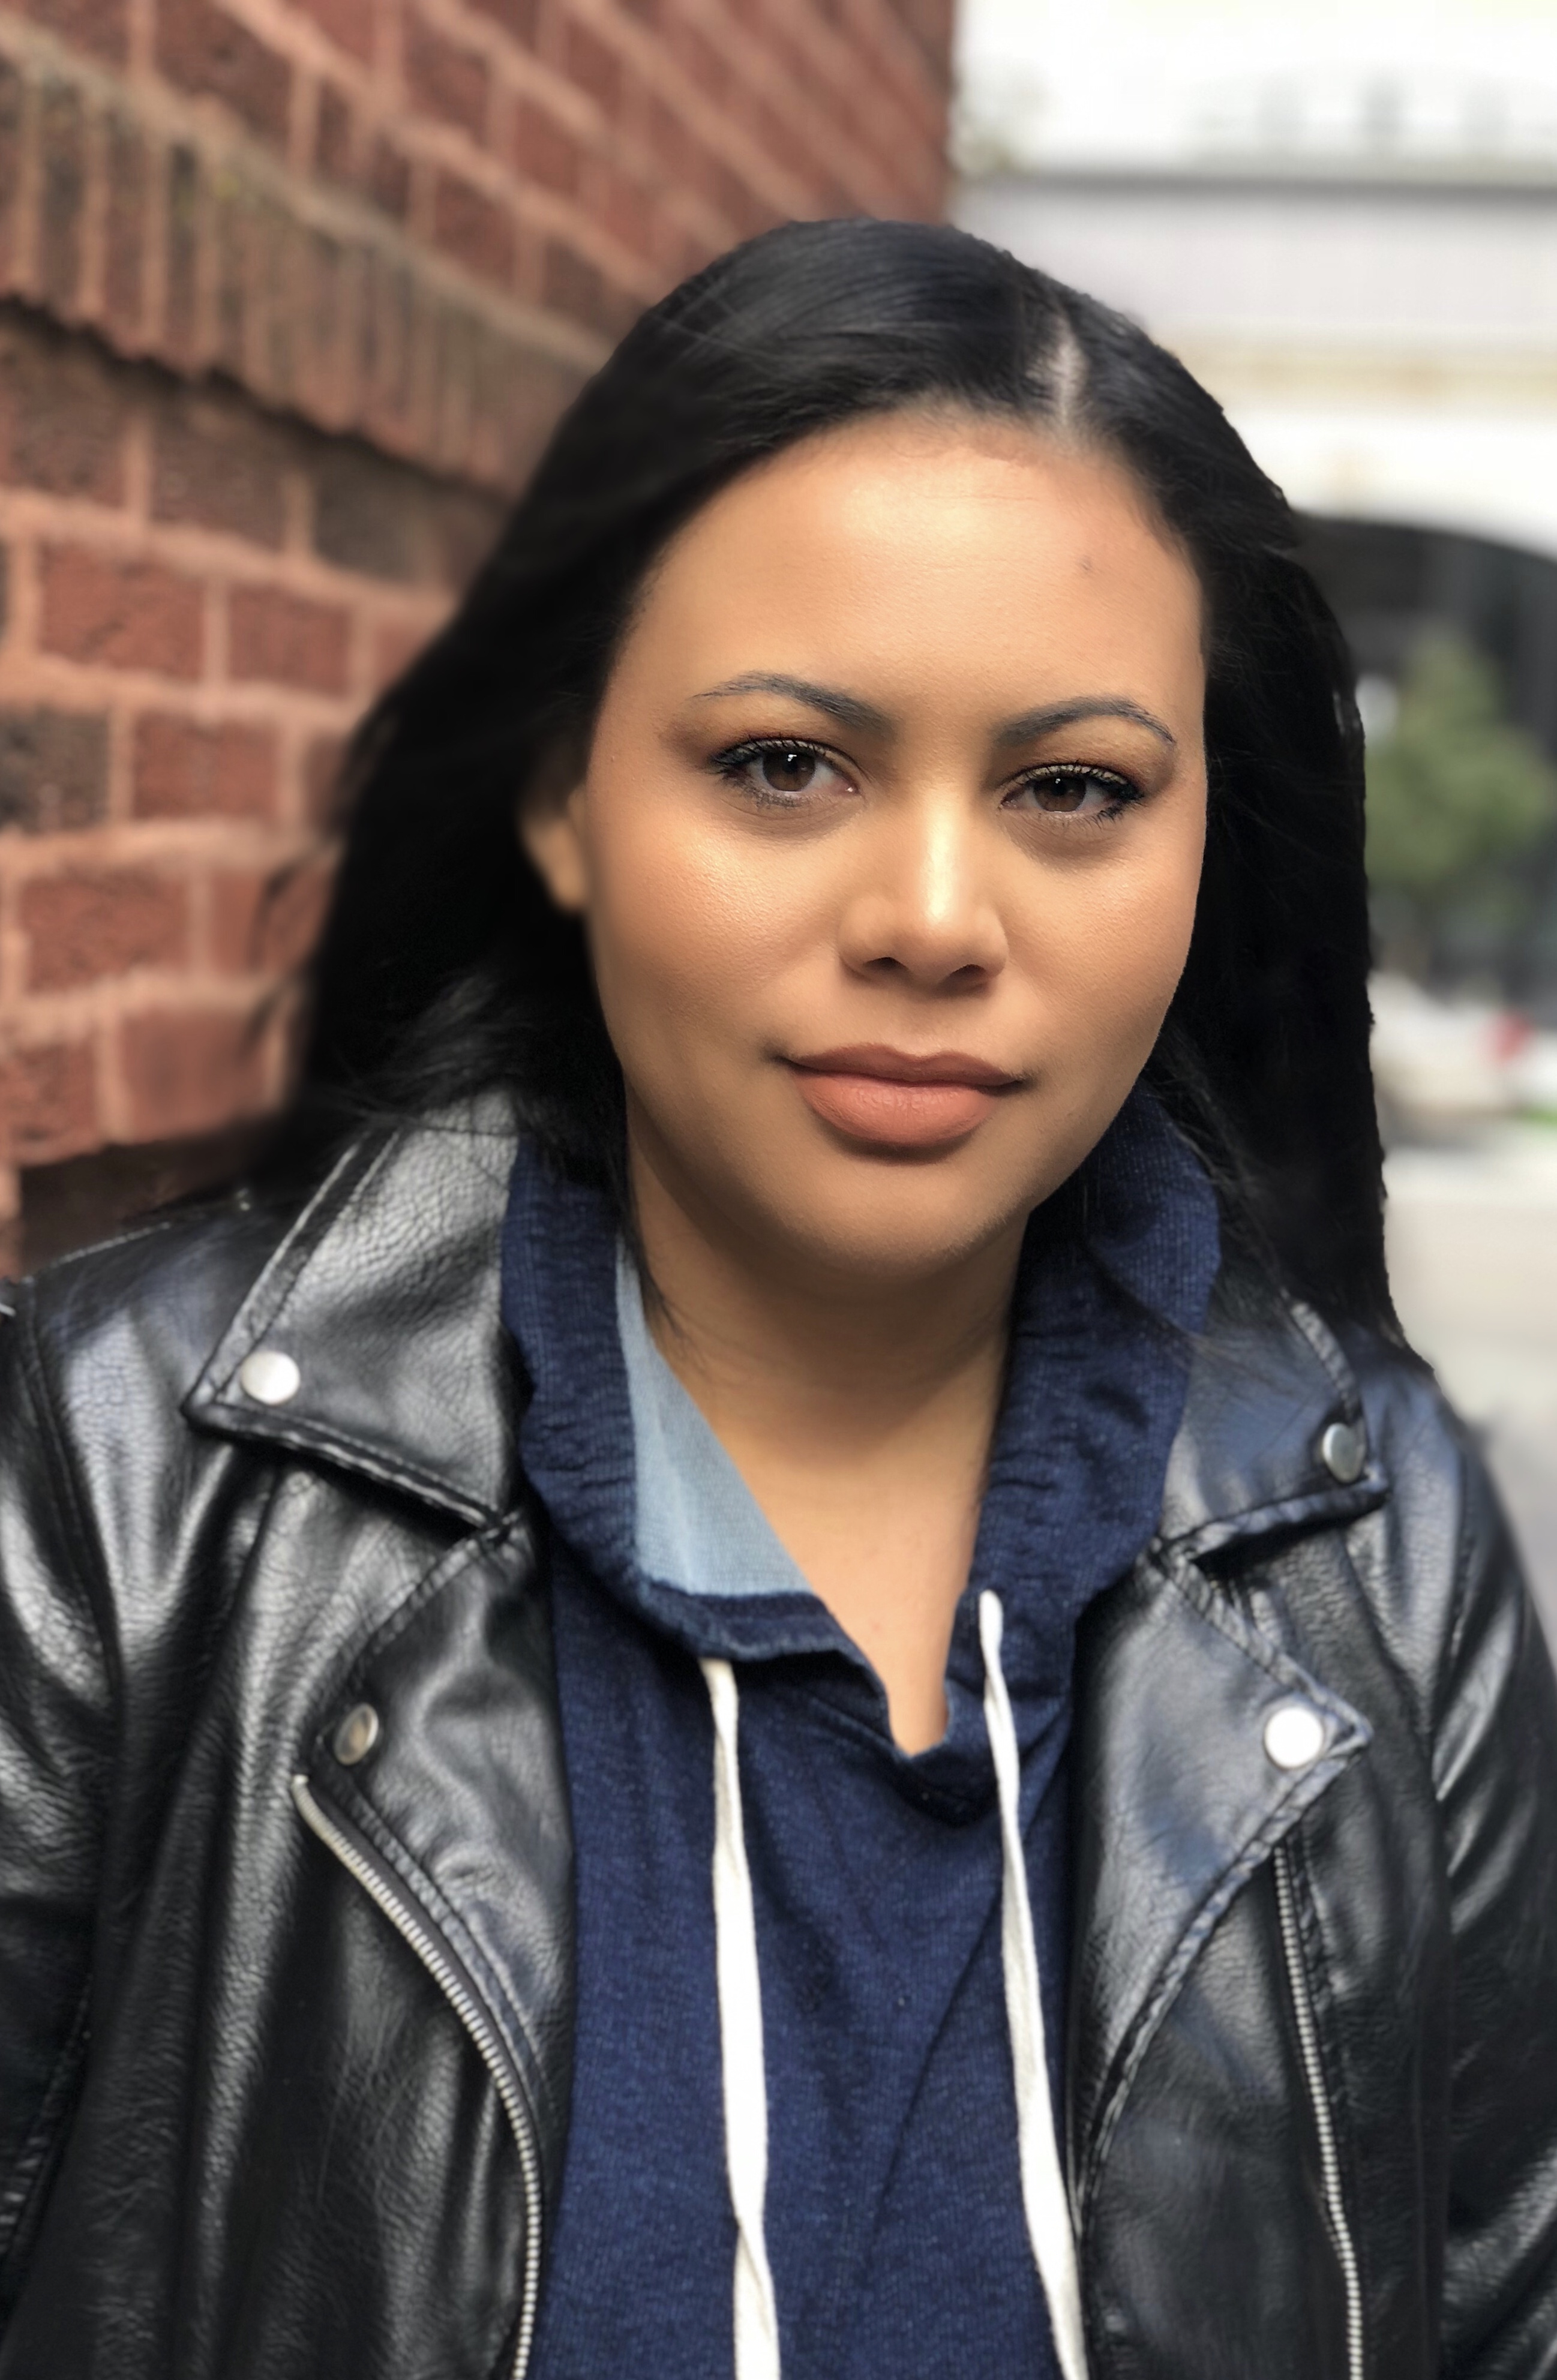
Makeup application is one of the most relaxing parts of my day. I find it satisfying to blend my foundation in and watch my trouble spots disappear like magic before my eyes. I enjoy the process, so I don’t mind taking my time and spending 30-40 minutes to get my face looking flawless. But, I know SO many people are not the same way.
With that said, the day always comes where I just don’t have the time to go through my normal routine, or I’m just exhausted from doing it and want something simpler. Also, some people just aren’t that into makeup, and something basic and clean-looking is more their style.
Whatever the case may be, sometimes you just have to settle with less prep time because life happens and there’s no other option.

When there’s only time for the bare minimum, my tip is to think of your “non-negotiables” when it comes to your face. What are your problem areas? Those are the areas that most need attention, therefore that’s what you’re going to focus on. If you have smooth and even skin, maybe you won’t do foundation – just some mascara and eyebrows. If you have textured and uneven skin, maybe a primer and foundation is a must – and you can skip out on some other area. Get my point?
My non-negotiable depends on the day, but usually it’s my under eye area and mascara. Those are the two things that HAVE to be addressed, as I have dark under eye circles and just look weird without mascara.
Once that’s decided, I’m ready to speed through my routine knowing what steps to prioritize. Here’s my expedited process when I’m in a hurry:
Step One: Primer
This is a skipped step for me when I’m in a rush, but if you absolutely need it, you’ll obviously start with this. To save time, a good trick is to spray your face with a makeup setting spray – they’re great for priming as well! I usually spray this MAC one and without waiting for it to dry, I being adding foundation.
Step Two: Foundation
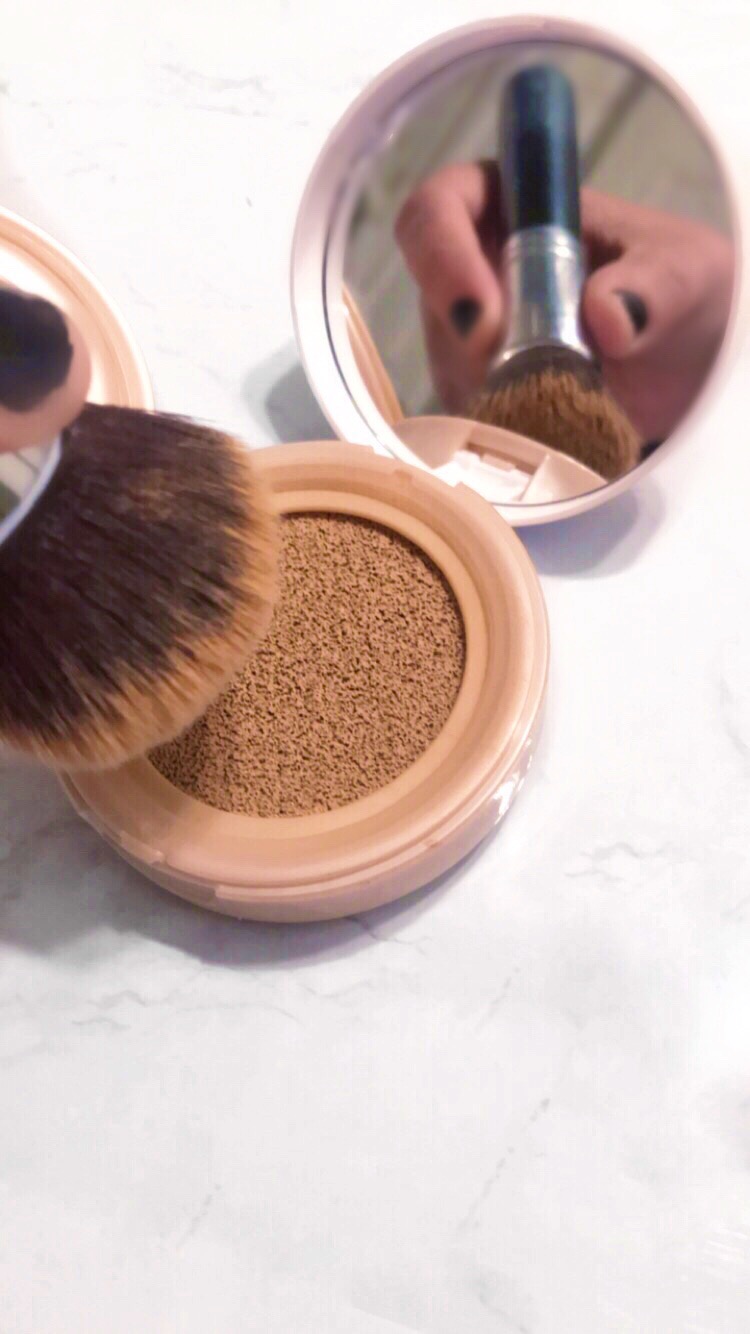
If I’m in the biggest rush, I opt for the Maybelline Dream Cushion Foundation. (Shade: True Beige) It makes the application process so fast because the product is saturated in the cushion compact. You just press your beauty sponge or makeup brush onto the cushion and then blend on your face! I love this method because I don’t have to pump foundation on my hand and get my hands dirty. It’s less of a mess, which equals more time saved.
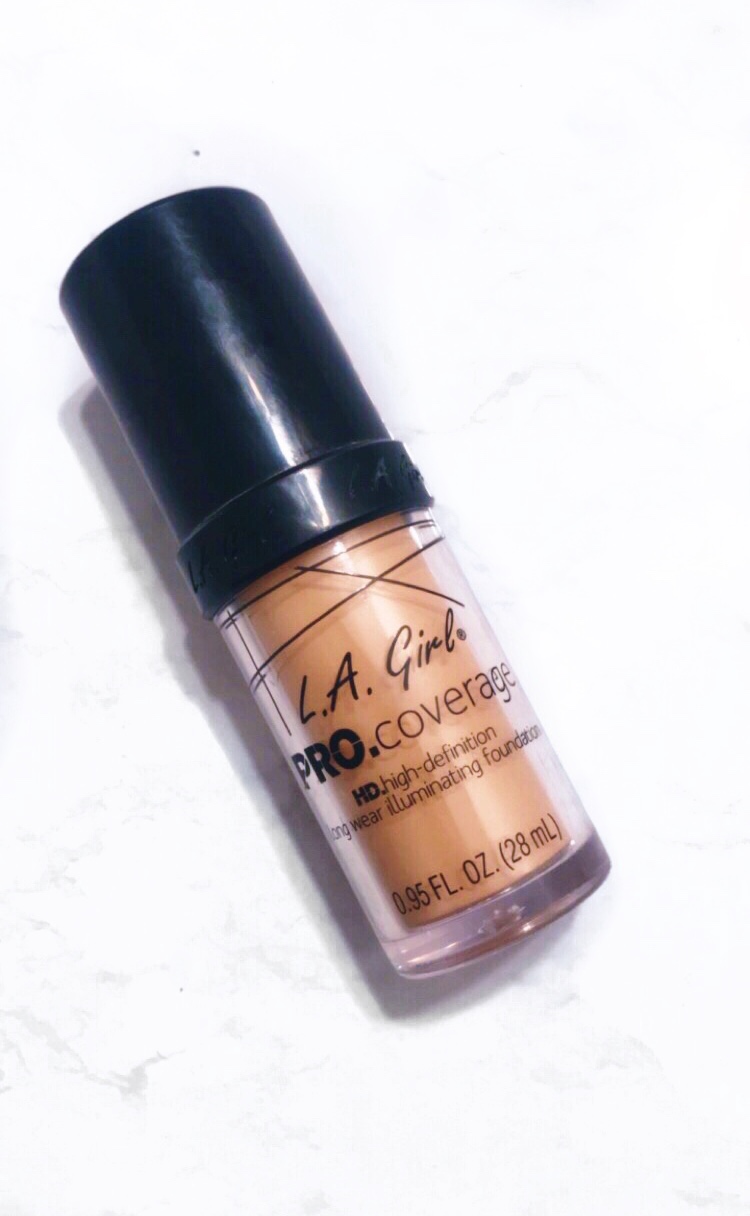
If you want a little more coverage, go for the L.A. Girl Pro Coverage Liquid Foundation. (I’m in the shade Nude Beige) This is actually one of my best foundations – it’s up there with my high end faves! It’s got a gorgeous dewy finish – it makes you look so healthy, and the low price point can’t be beat! This is actually a full coverage foundation that can last all day when I want it to, but I just used a little and dabbed lightly with a beauty sponge to sheer it out. I actually mixed the L.A. Girl and Maybelline Cushion foundation for this look in the photos.
Note: If you have oily skin, you may not like this L.A. Girl one cause it gives you glow. (But if you’re dry you’ll be obsessed!) Luckily, they do have a matte version here for all you oily/combo girls out there!
Step Three: Concealer
I’m loyal to my Tarte Shape Tape. It’s full coverage, so it might look odd on a natural face – but since this is my “non-negotiable” area, I’m not shy with it. If you don’t apply a full face of makeup regularly, I recommend Maybelline Instant Age Rewind Eraser Dark Circle Treatment Concealer. It’s an oldie, but goodie from the drugstore and it was all I used before discovering the Tarte one!
Step Four: Loose Powder
To set my concealer and face I use the RCMA No Color Powder or Coty Airspun Loose Face Powder in Translucent. The RCMA is my top fave, but it comes in a funny looking spice bottle that’s annoying to work with. I usually just deal with it, or when I finish up my Coty powder – I pour my RCMA into the the Coty jar! You can also purchase these empty powder jars on Amazon to pour it in if you prefer!
The Coty is a great alternative to the RCMA, and you can find it everywhere – Walmart, CVS, etc. You get a huge amount that will last you forever for seriously like 5 bucks!
Step Four: Eyeshadow & Bronzer
My favorite drugstore bronzer is the Physicians Formula Butter Bronzer in the shade Bronzer. It looks natural and blends like butter (hence the name!) into the skin. If you don’t like that “bronzer” look, you’ll love this! It’s great when you’re in a rush because no matter how I sloppy I apply it, I always like the results! It’s mistake proof and beginner friendly!
I usually go without eyeshadow on no makeup makeup days, but if I’m feelin’ it, I take a fluffy blending brush and swipe the bronzer in the crease of my eyes. This gives a little dimension and contour to the eyes.
Note: The bronzer does have a strong coconut scent so if you’re sensitive to smells, that may be a dealbreaker. I find that the smell fades away after a couple uses.
Step Five: Blush
I love these Burt’s Bees blushes! They aren’t too matte or too shimmery – I would say they’re a satin finish. They have a soft sheen that gives your cheeks a luminous flush. My favorite shades are Toasted Cinnamon and Bare Peach. Toasted Cinnamon is the perfect warm brown blush – it looks so naturally beautiful blended on medium to dark skin tones! I use Bare Peach when I want a little more color to show.
The Burt’s Bees blushes are so hard to find and are always sold out at Ulta! (’cause they’re THAT good) Your best bet is usually Walmart or Amazon.
Another great blush that’s easy to find is Milani Baked Blush in Luminoso! This was a cult fave of so many youtube beauty influencers a couple years ago, and for good reason! It gives a beautiful glow to the skin that makes you look fresh and awake. Peachy colors are my go-to blush shades!
Step Five: Highlighter
This Highlighter by Essence is a hidden gem at the drugstore! It doesn’t have any specks of glitter – it comes off as just a sheen on the face. I don’t like shimmery highlighters because they emphasize texture and pores. I just want to look like I’m naturally glowing from within. These are similar to the way more expensive Hourglass highlighters, and for under 5 bucks! It’s also so user friendly, no matter how much I pack on, it never goes overboard – you can even lightly dust this all over your face and it looks so stunning! You can find these at blink-and-you-miss-it small sections at Ulta. (Ask a sales associate for help!) Oddly enough, I’ve also spotted these at Forever 21! This Shade: Be My Highlight
Step Six: Mascara
You know how to do this – throw on your favorite mascara. You already know which ones are my favorite from this post!
Step Seven: Eyebrows
Eyebrows are a non-negotiable for many so if it is for you – you may need to whip out a pencil and do a full brow routine (My go-to is Anastasia Beverly Hills Brow Wiz in the shade Ebony)
But, if you can get by, a tinted eyebrow gel is your best friend here. Penciling in eyebrows requires attention to detail and I need to take my time, so on no-makeup makeup days, I prefer to skip that step.
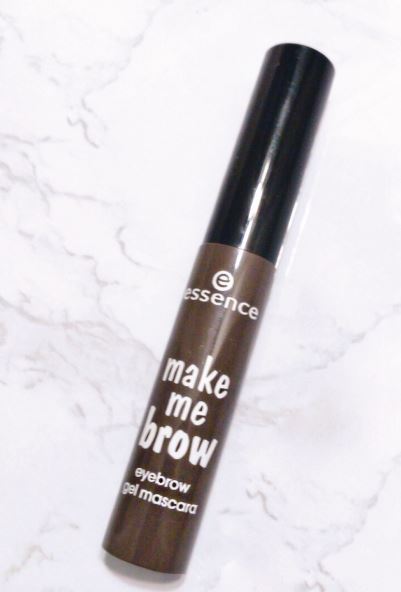
For this I use Essence Make Me Brow – (it’s $2.99!) I swipe this on and I swear it makes me look like I have hair that wasn’t there before! I even purchased this for a guy friend who said he wanted his brows to be a little darker, but didn’t want to look like he was “drawing on” his brows. He reported back that he loves it! Brows are darker and it looks like his natural hair – problem solved.
At the very least, when used on it’s own, this fills in my sparse spots and tames hairs. When I do a full eyebrow routine with pencils and eyebrow powders, I also apply this as the last step. The gel locks in the brows and the wetness removes powdery-ness from the pencil, making the hair more visible. This technique makes your eyebrows more “3-D” and less “flat” looking from filling them in.
Just like the highlighter I mentioned before, you can find Essence products at Ulta and Forever 21. I wear the shade Browny Brows 02.
Step Eight: Nude Lips
I couldn’t find my favorite drugstore nude in time for these photos, but it’s the Maybelline Creamy Matte Lipstick in Daringly Nude. It’s smooth and creamy, just as the name suggests!
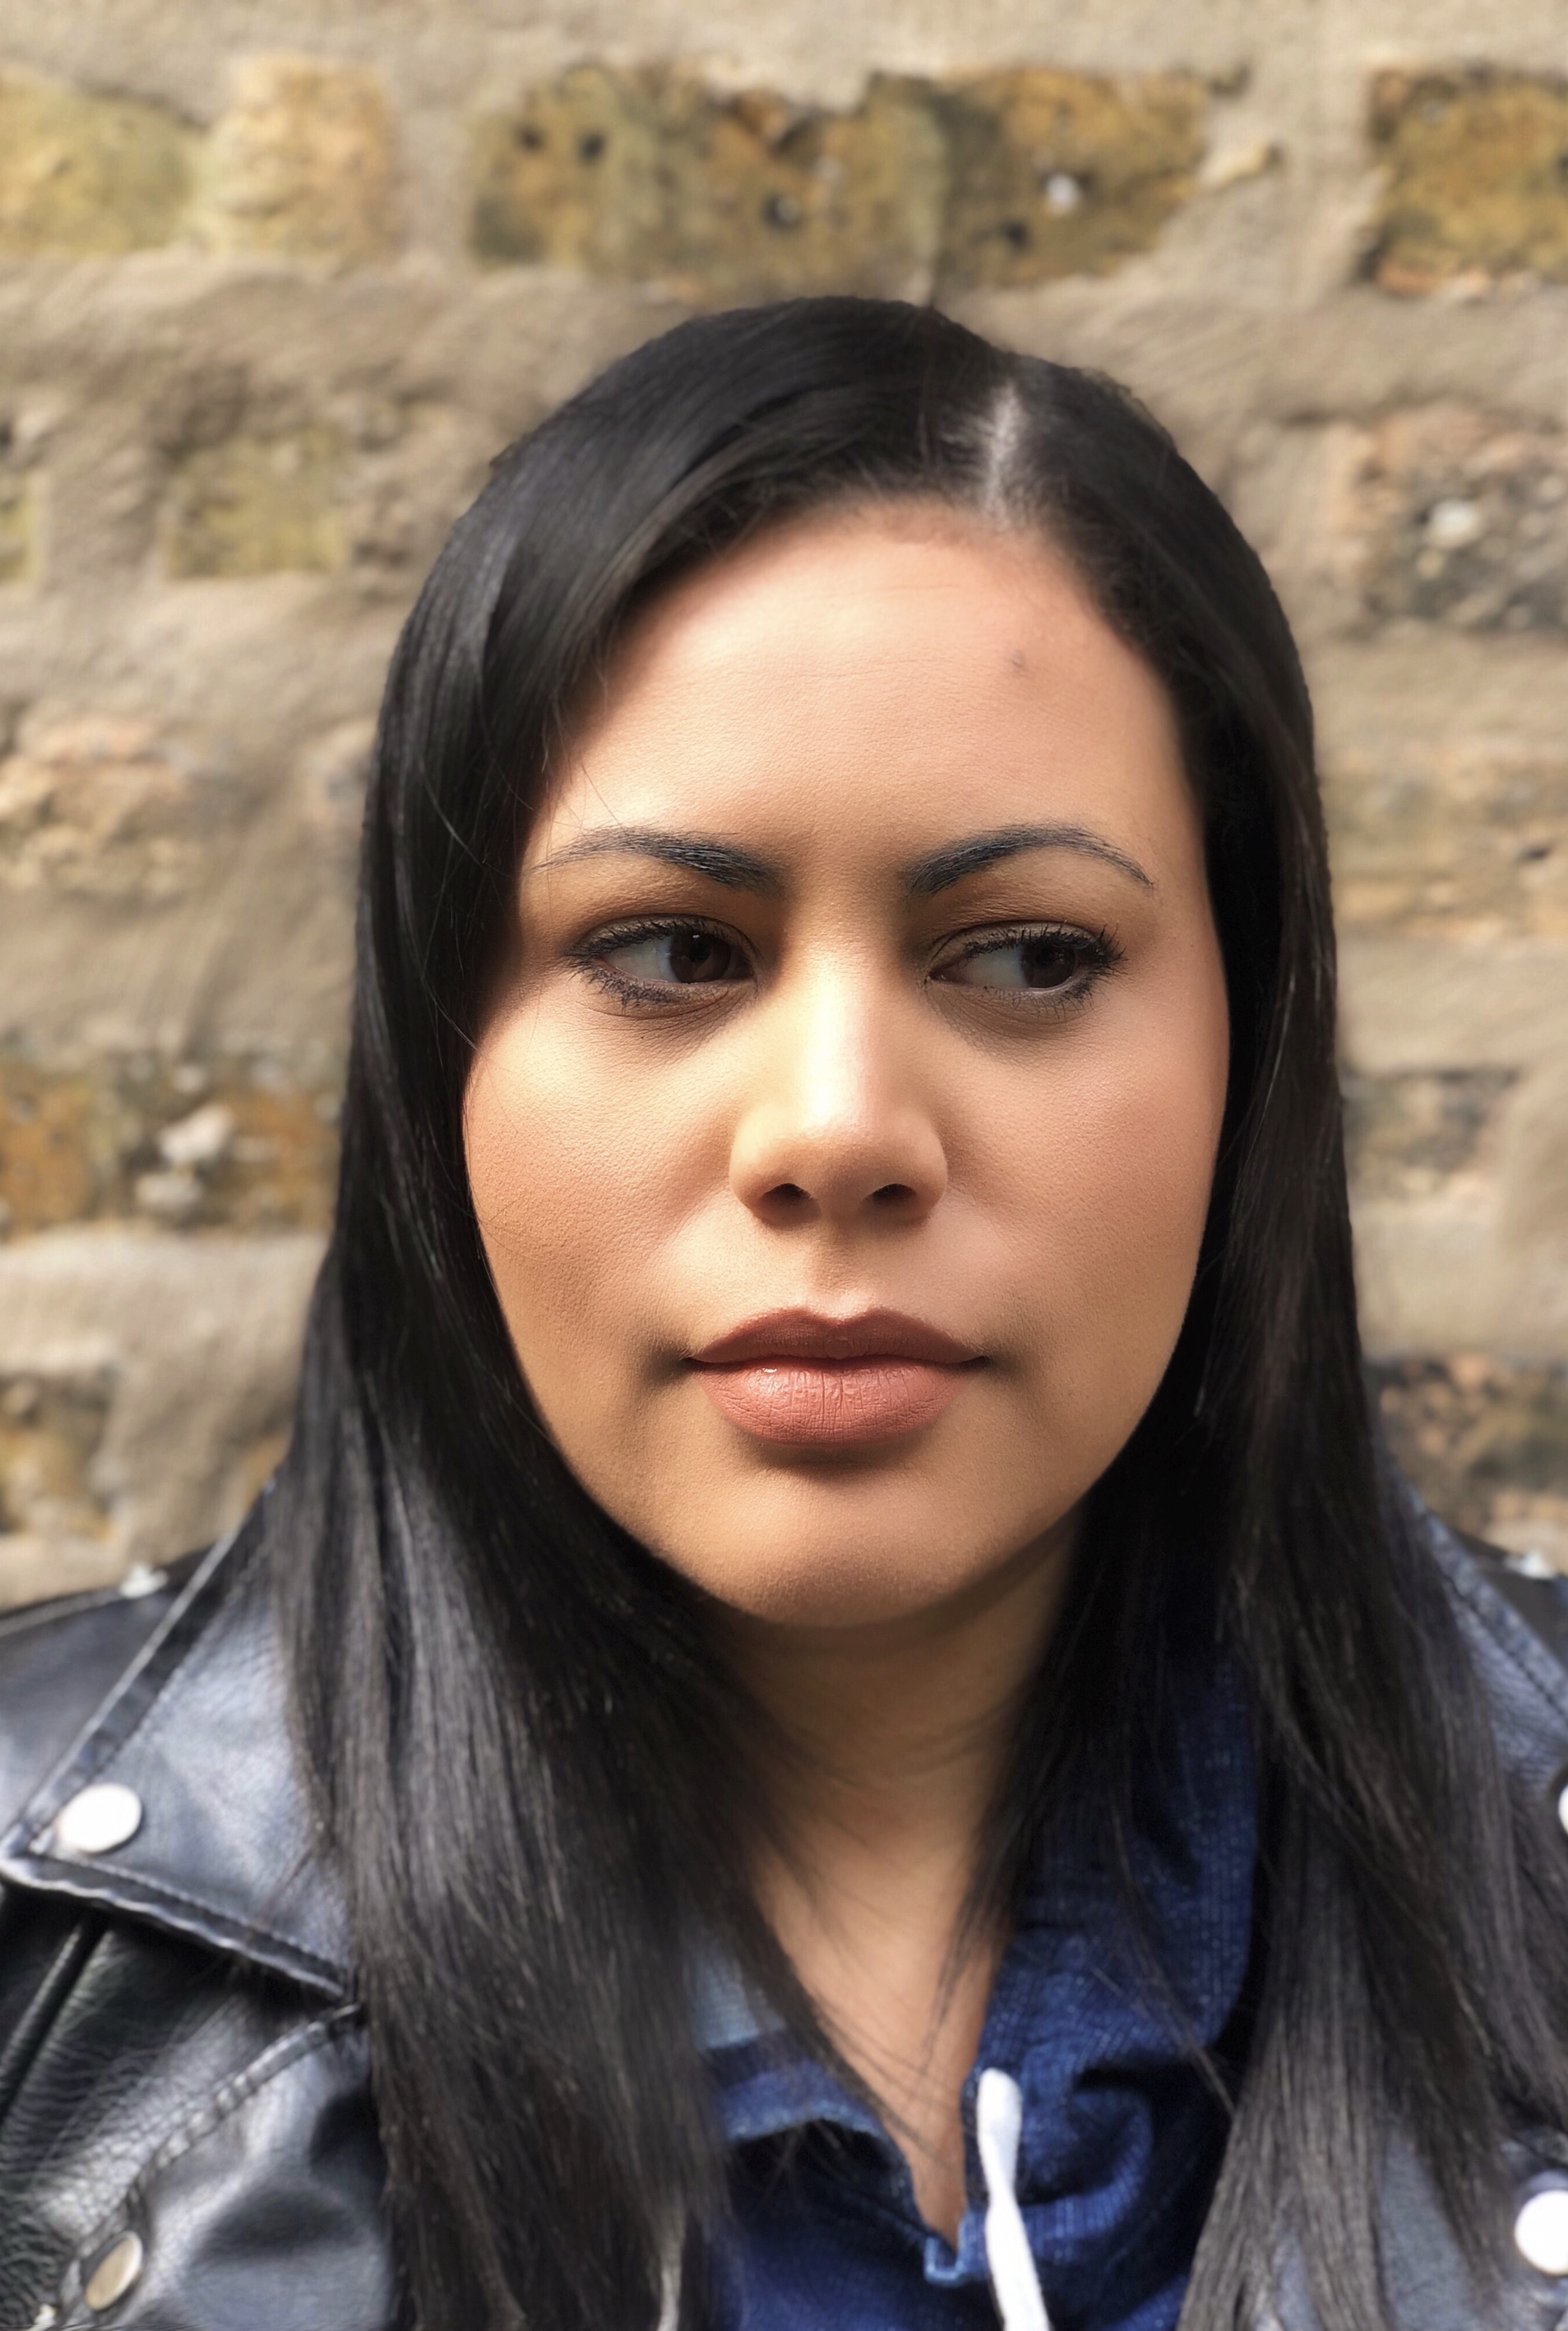
The one I’m wearing here is Anastasia Beverly Hills Matte Lipstick in the shade Peachy. It’s long lasting and looks great, but I actually prefer the formula of the Maybelline!
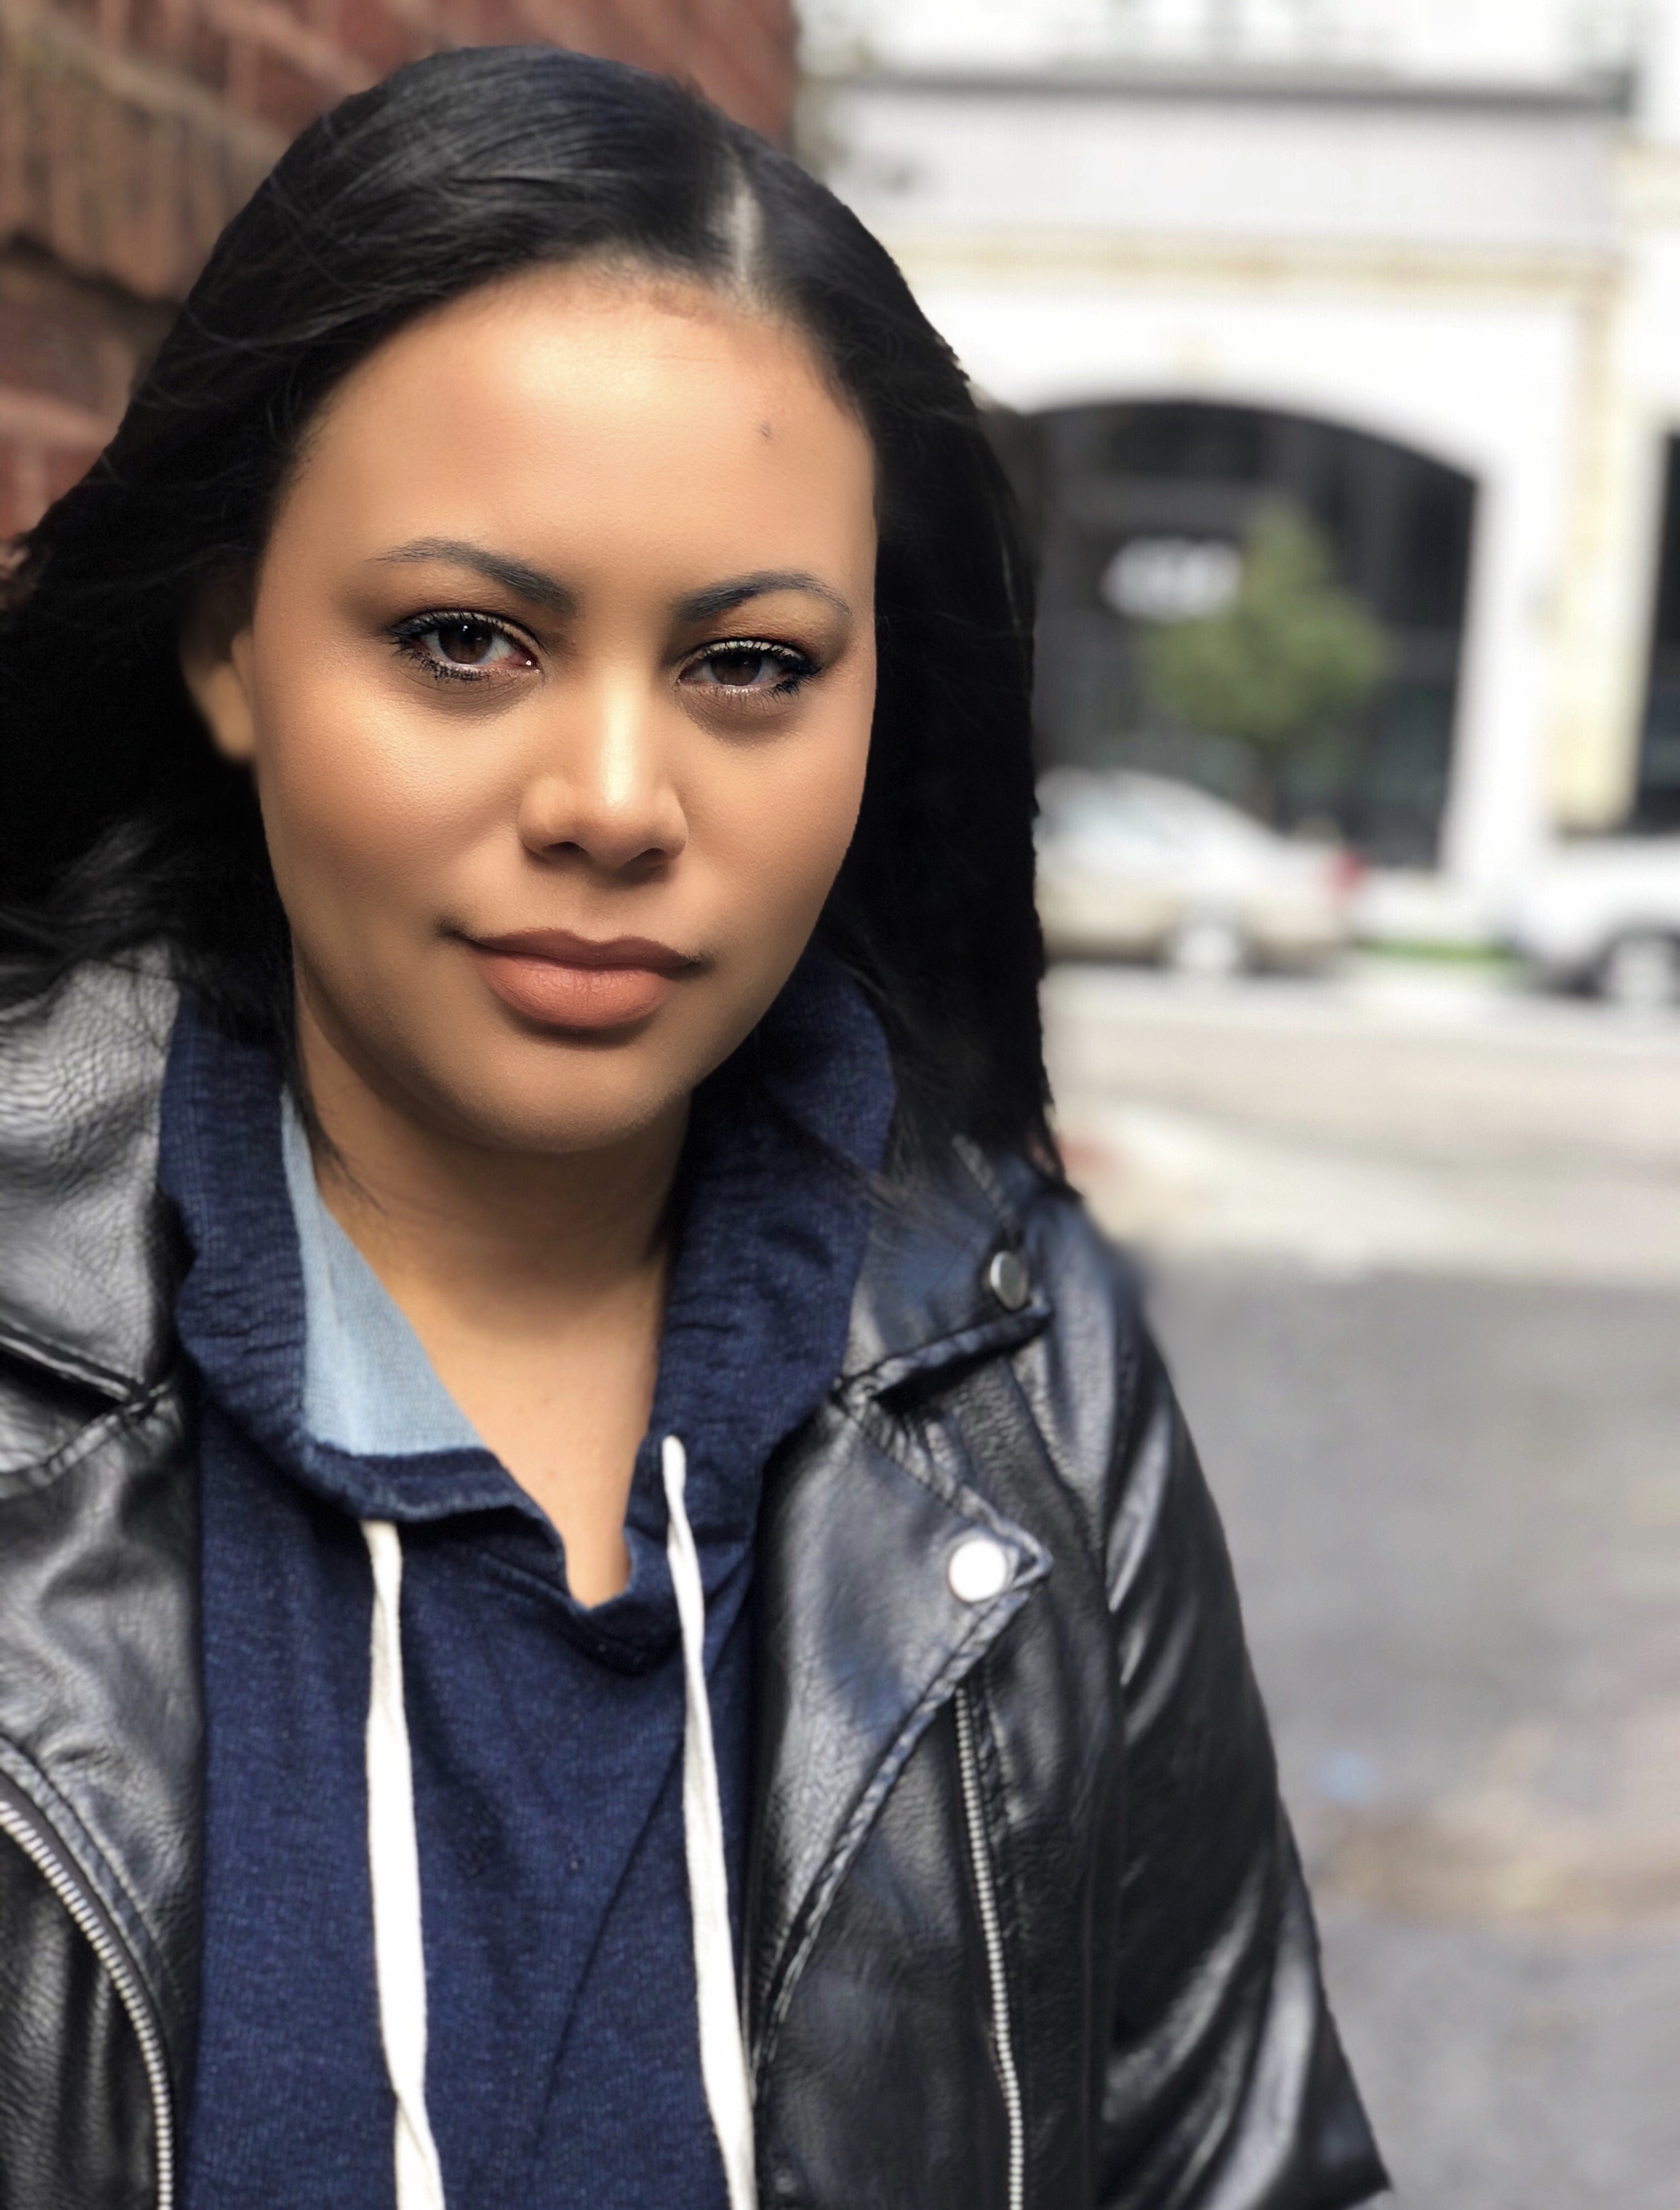
And there you have it! A quick “in-a-rush” outfit tip: Throwing a leather jacket over this sweatshirt made me look less “blah” when running errands. It’s perfect for chilly weather, and you’re still super comfortable!
Ironically, I was actually in a real-life rush during this photo shoot and forgot my earrings! That definitely would elevate the look a lot more! This is a great go-to when you get that last minute saturday morning brunch invite from your friends and want to be chill, but not look like a hot mess!
What’s your “non-negotiable” step that you just can’t skip?
*Some Links may be affiliate links. Rubi On Repeat is a participant in the Amazon Services LLC Associates Program, an affiliate advertising program designed to provide a means for sites to earn advertising fees by advertising and linking to amazon.com.

