If you read this post, you know I don’t wear false eyelashes on a daily basis. And when I do, I take the easy way out and opt for magnetic ones! Today’s post is for us girls who want to get the most out of the natural lashes we were blessed with!
This is my “mascara routine” (I promise it sounds more intense that what it is!) that I do to get the best look possible without resorting to fake ones. This process involves using a eyelash curler and two different types of mascara. That sounds high maintenance, but hear me out!
Disclaimer: If I’m in a rush I do not do this. I just throw on whatever mascara I have laying around and go. This tutorial is for days when I want lashes at their full potential.
As for the two types of mascara – I use one that is lengthening first, and one that is for volume. (Despite what advertisers say, I can never find everything I want in one!)
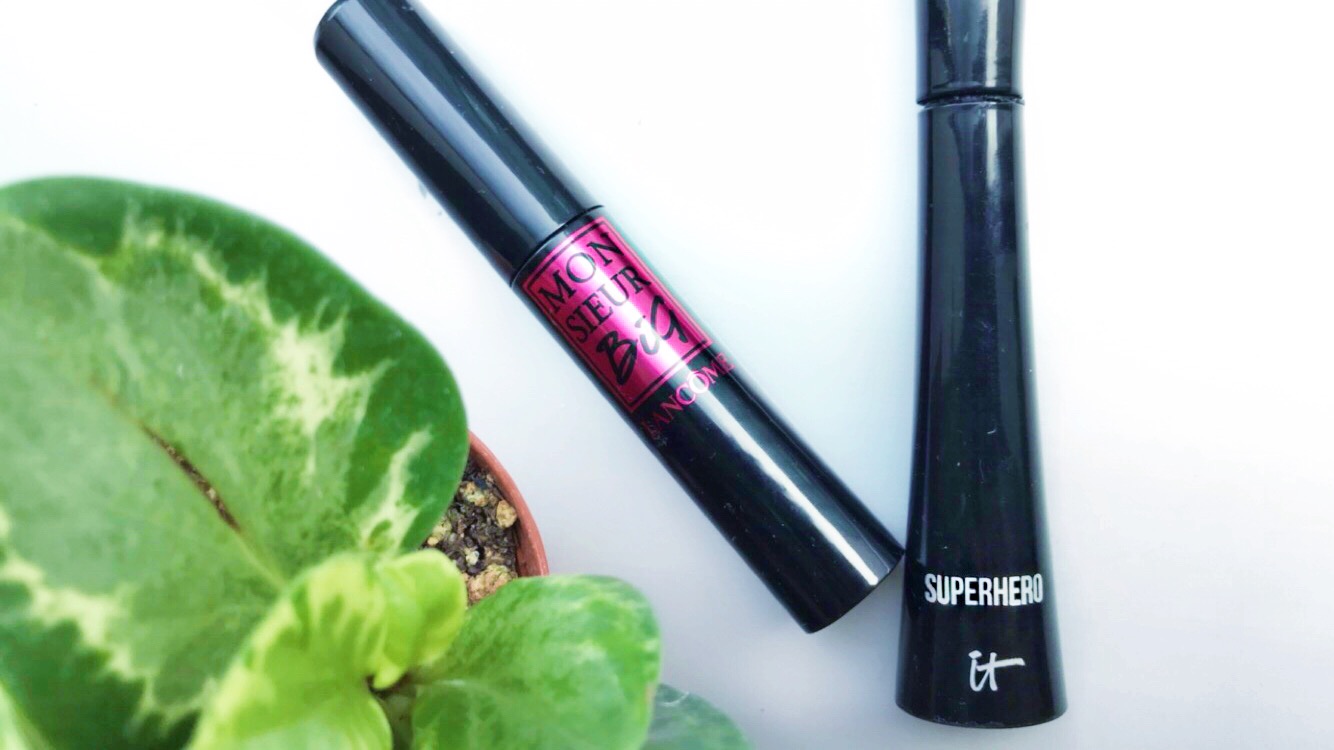
For length, I use the IT Cosmetics Superhero Elastic Stretch Volumizing Mascara. The name says it all! This mascara gets my lashes stretched out and separated nicely. I usually use this mascara alone on a daily basis. It doesn’t flake or get clumpy and it lasts longer than any mascara (that isn’t waterproof) I’ve tried!
Sidenote: Waterproof mascara is actually the most long lasting, and that’s because it doesn’t budge. Sure, that’s exactly what you want, but that’s also the problem! It takes forever for me to take off, and it requires harsh rubbing around the eyes – that can’t be good for such a delicate area. Plus – I don’t really like when my eyelashes feel rock hard.
This mascara is the only non-waterproof one I’ve tried that lasts all day.
To deliver the volume, I use the Lancome Monsieur Big Mascara. This makes thin, fine lashes like mine appear thick and full. You can get away with just one swipe of this mascara – it’s so black and inky!
My Routine: I do two coats of one mascara, curl my lashes, then another two coats of the second mascara .
I’m willing to bet that you’ve been advised before to use an eyelash curler before you apply mascara. Sound familiar? Well I’m here to let you know that I actually break that rule and curl them after I apply it.
A lot of people believe curling your lashes after mascara is harmful, and can cause them to break off – and they’re right.
But – the trick is to wait for the first coat to completely dry first before you go in with the second. I’ll Explain:
Step 1: Apply a lengthening mascara
Apply a lengthening mascara. Here’s where I use my IT Cosmetics one.
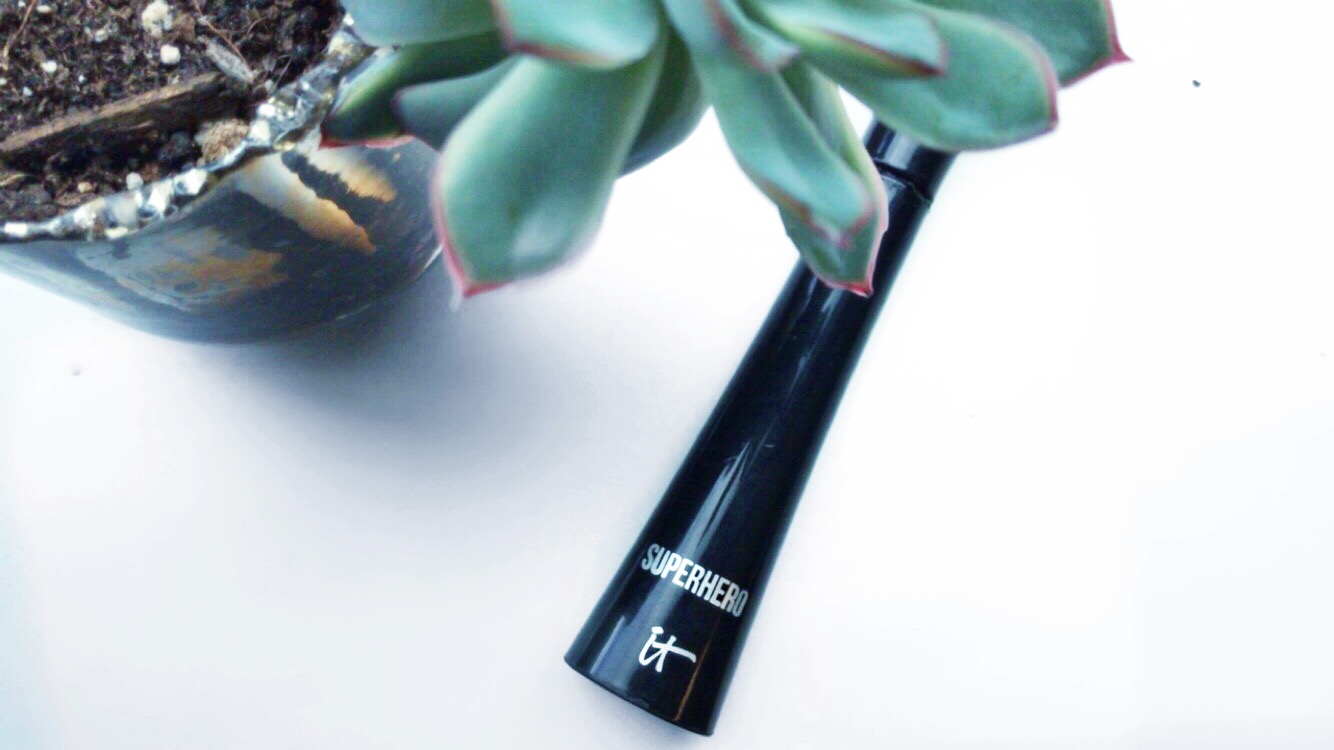
As i said before, I like to start off with an elongating mascara so I can get my lashes stretched out before focusing on volume.
Step 2: Let Mascara Dry
Wait until mascara is fully dry. This typically takes about 20 minutes for me. If you’re getting ready for work or have somewhere to go and don’t have time to wait 20 minutes, don’t! Just complete your entire makeup look and go on out and about! You can complete the next step once you’ve arrived at your destination. (For example, in a bathroom later or after you’ve parked your car at work!)
Step 3: Eyelash Curler
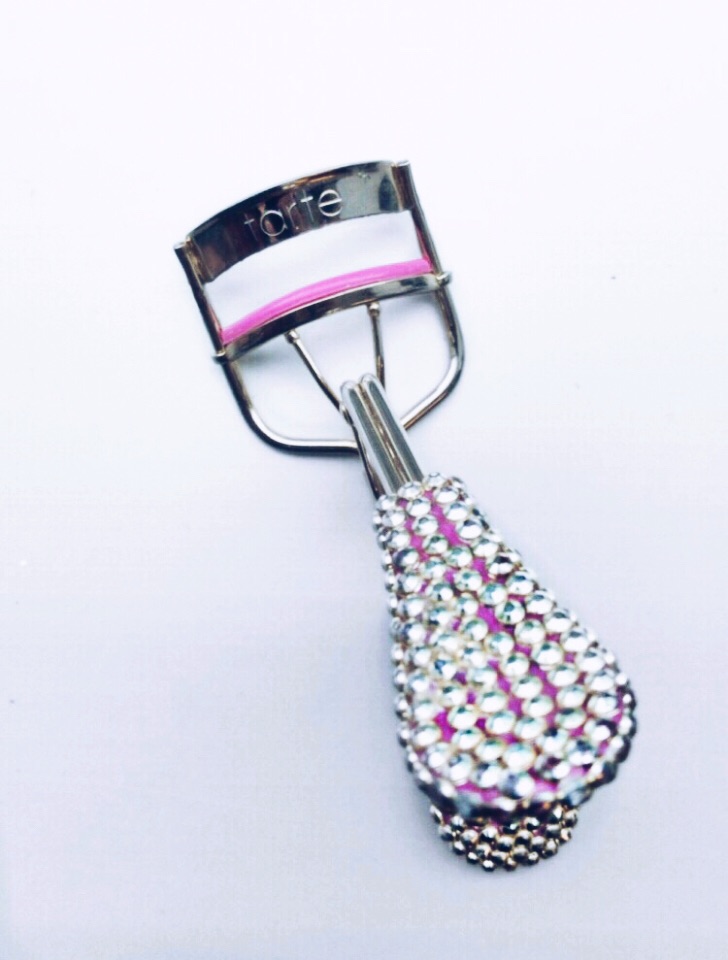
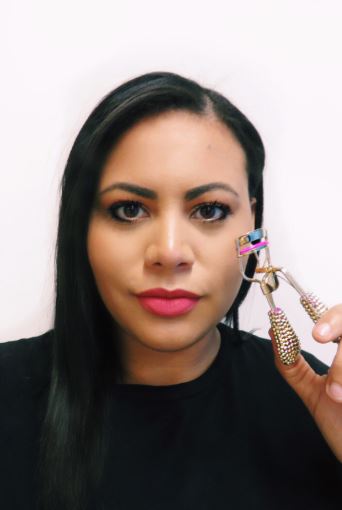
Once the first coat of mascara is completely dry, curl lashes using the eyelash curler.
Step 4: Apply a Volumizing Mascara
Apply the second coat of mascara. You can use the same one obviously, but here’s where I switch to a volumizing formula. The Lancome Monsieur Big gets the job done here.
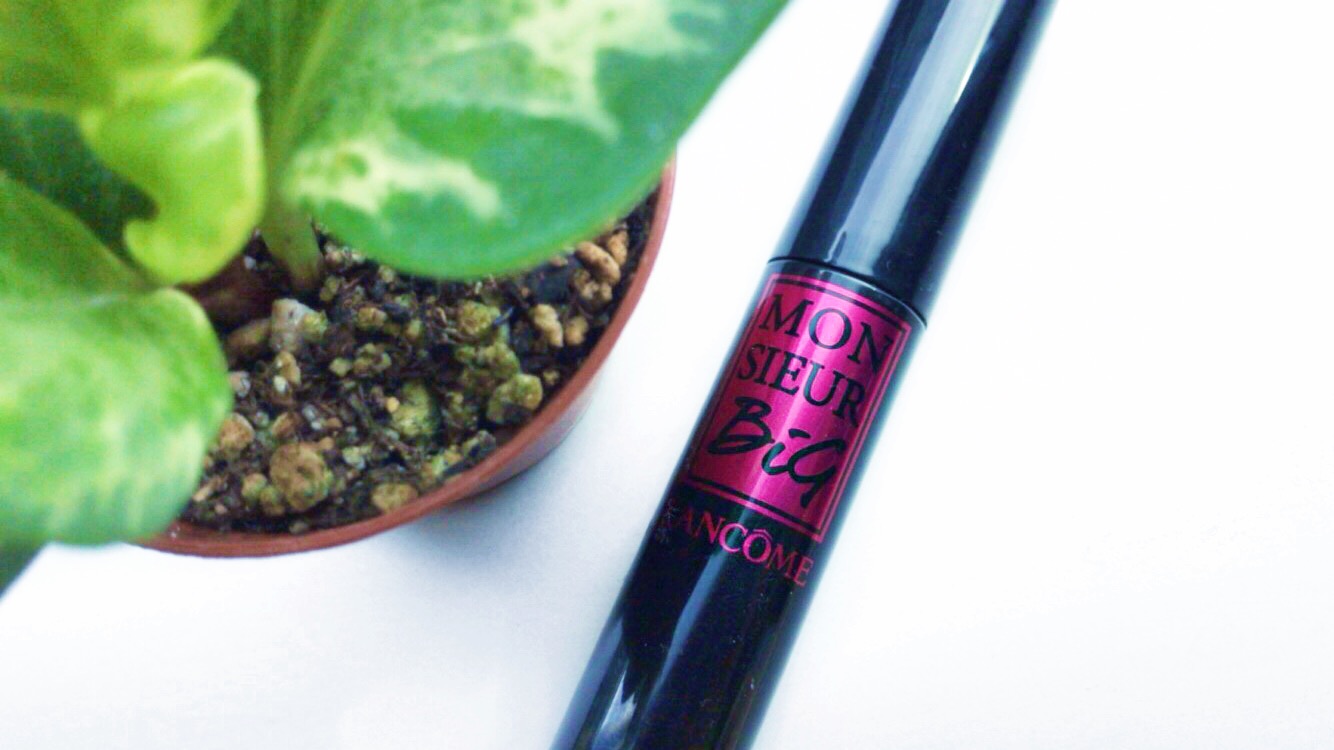
That’s it! You now hopefully have your own lashes looking their possible longest and fullest! See the difference it makes below:
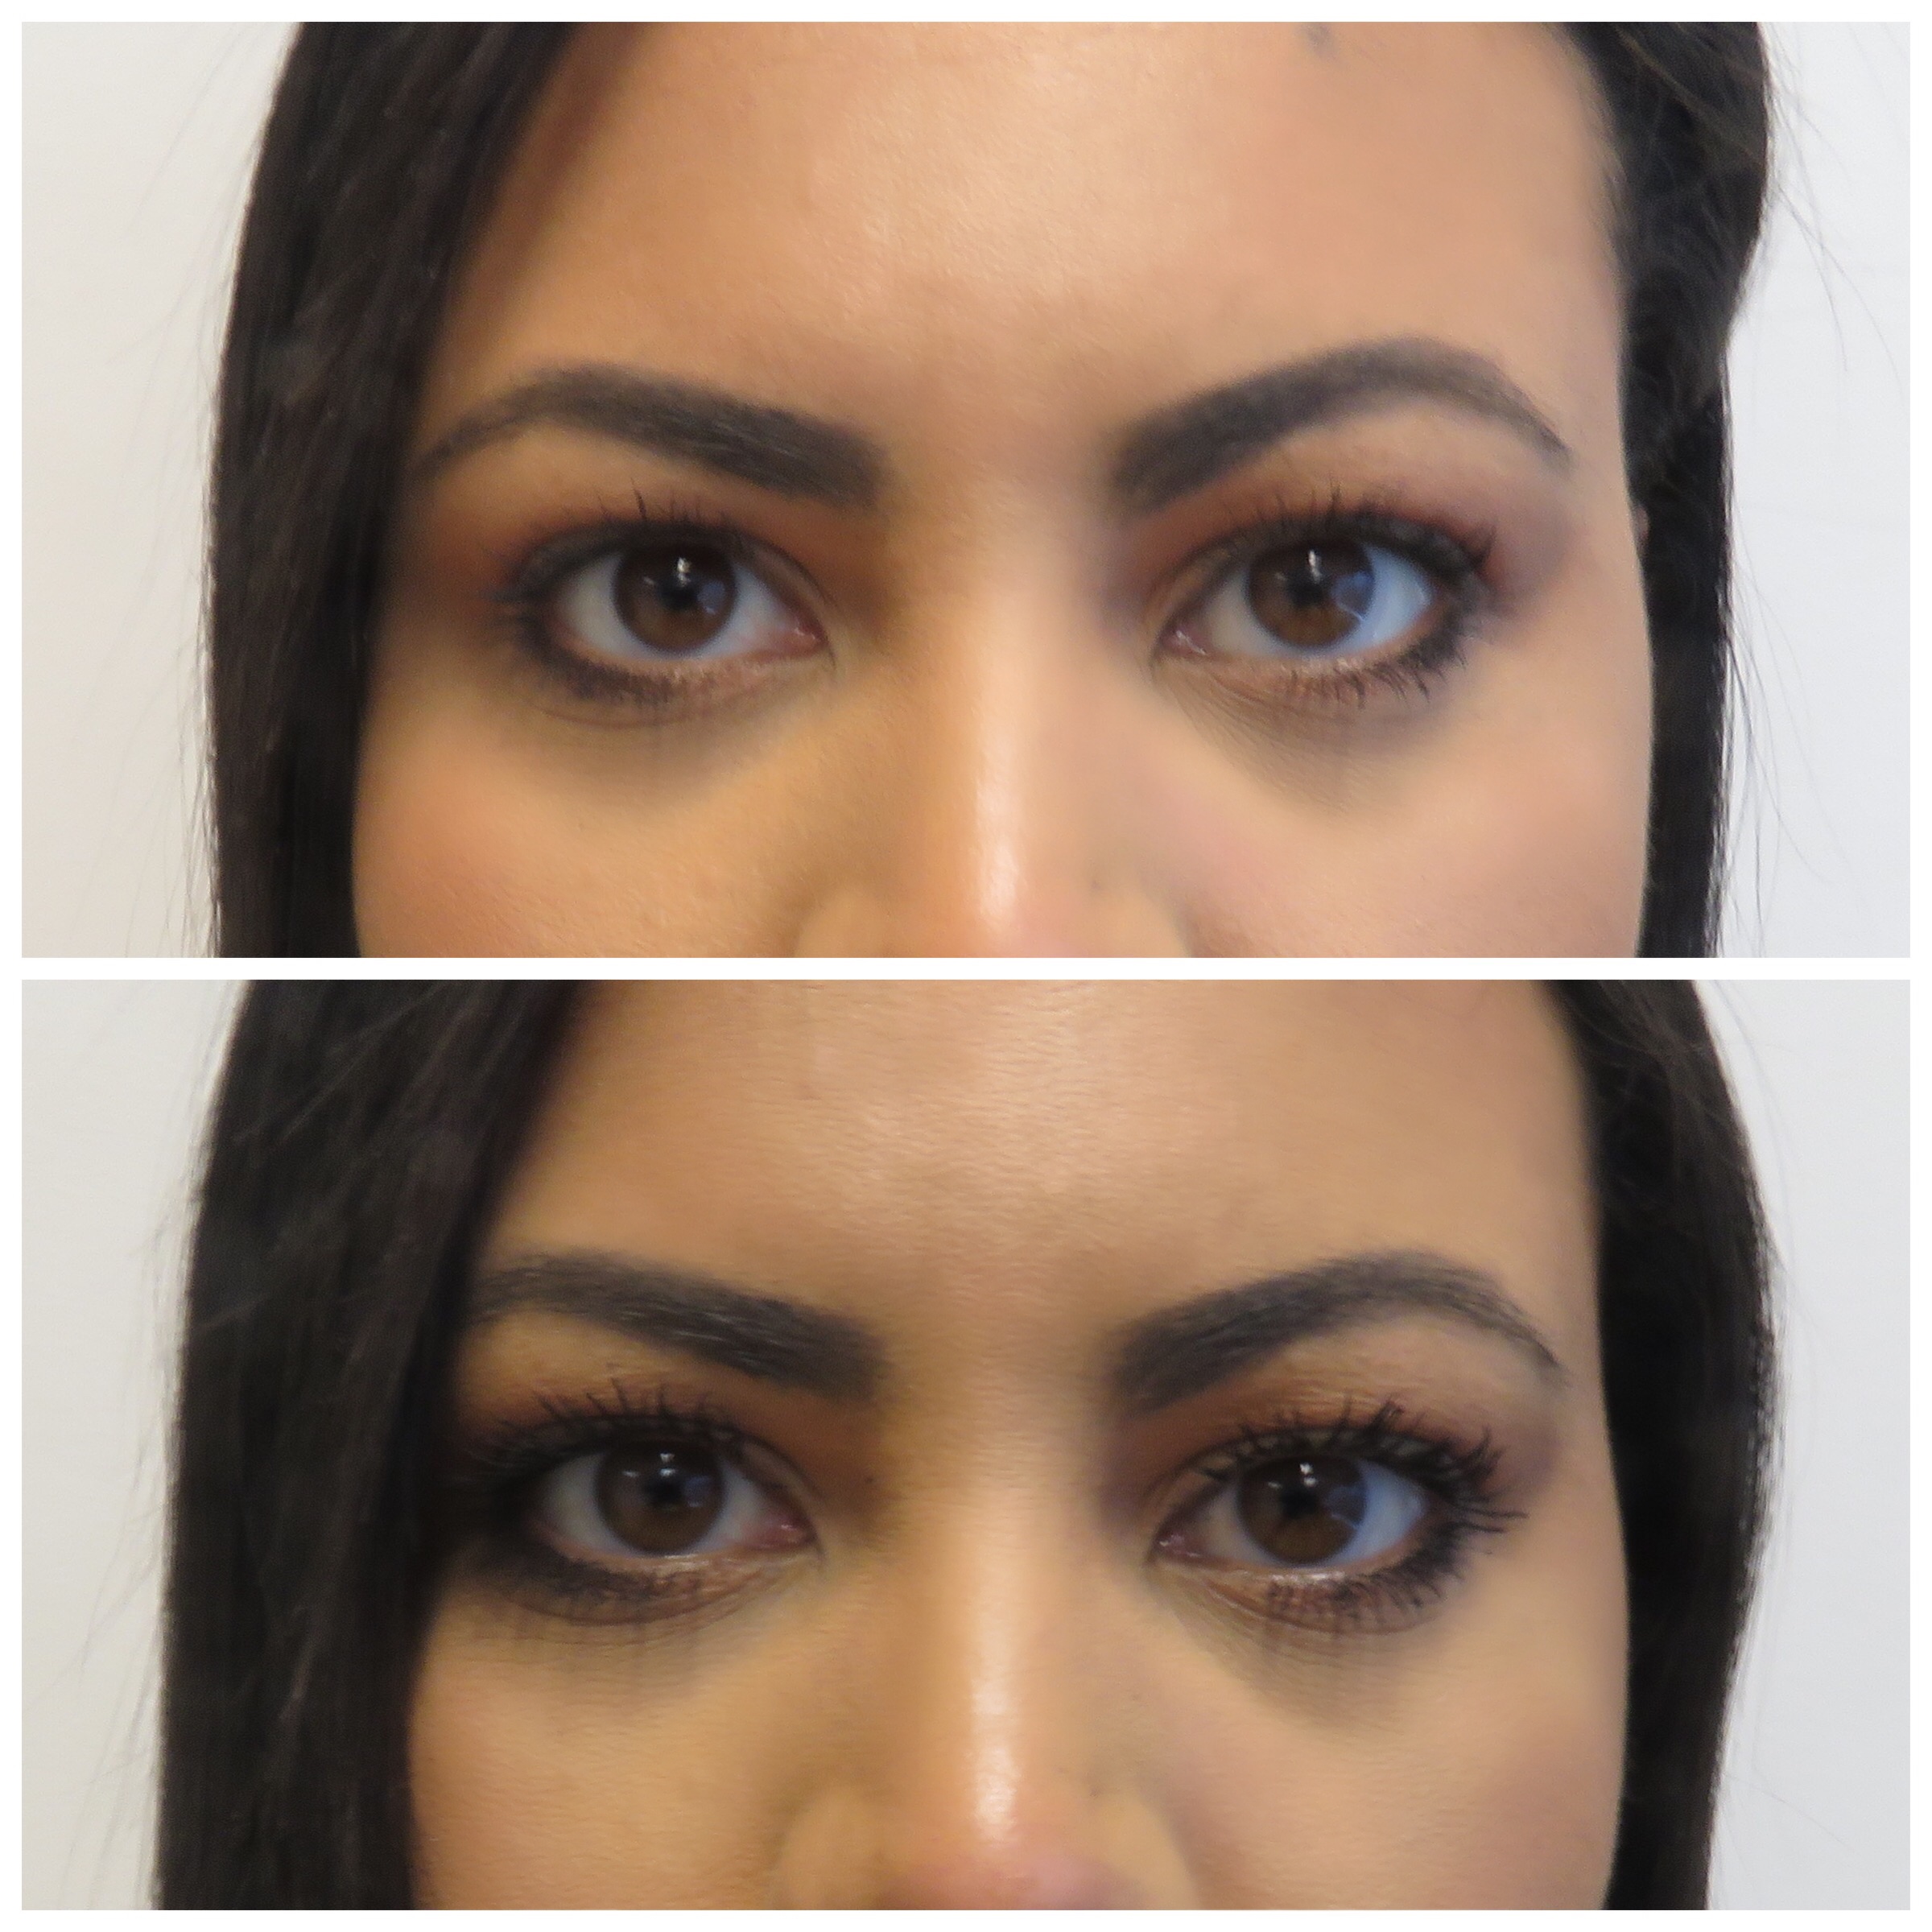
Bottom Photo: After Curling lashes and adding second coat of Lancome Mascara
More tips to get the most out of your natural lashes:
Use a Lash Primer
I have to admit I do not do this. There’s just too many steps involved already. It’s just not practical for me – but it may work for you so I thought I’d mention it! Fun fact if you’re interested in lash primers: Ulta sells the Monsieur Big mascara in a set (here!) that includes a primer and eye remover for $25!
Skip Eyeliner
I know some of us wouldn’t be caught dead without eyeliner, but try going without it, or use a color lighter than black like brown. (In these photos I’m not wearing any! ) When you have that dark black line on your eye, about a third of your lashes camouflage into it, making them look shorter. I personally LOVE eyeliner, but about once or twice a week, I switch it up and go without it and really love the look. This also saves you a couple of minutes! The key is to go with a minimal makeup look that day. Of course, a full glammed out face looks off without eyeliner.
Use Heat
This one I haven’t tried, but I’ve heard that if you hit your eyelash curler with some heat from a blow dryer before curling, it will hold the curl much better! If you try this be careful and make sure you don’t burn yourself! Maybe watch a youtube video before attempting? 😂
That’s it! It seems like a long process but it really isn’t, especially if you take a break during the drying time to do other things. Are you going to try this? Head over to my instagram (@rubionrepeat) and let me know if you do! I love when we talk beauty on there – come say hi!

